Pandemic Rising Tide - a new board design
Mar. 21st, 2019 01:02 amceb gave me the board game Pandemic Rising Tide for Christmas. I like it a lot. However, the board layout, while very pretty and historically accurate, is awkward for play. I decided to produce a replacement board design, with a schematic layout.
This project is now complete at last! Not only do I have PDFs ready for printing on a suitable printer, but I have made a pretty good properly folding actual board.
Why a new board design
The supplied board is truly a work of art. Every wrinkle in the coastline and lots of details of boundaries of various parts of the Netherlands are faithfully reproduced.To play the game, though, it is necessary to see quickly which "squares" (faces of the boundary graph; the rules call them regions) are connected to which others, and what the fastest walking route is, and so on. Also one places dyke tokens - small brown sticks - along some of the edges; it is often necessary to quickly see whether a face has any dykes on any of its edges, or whether there is a dyke between two adjacent faces.
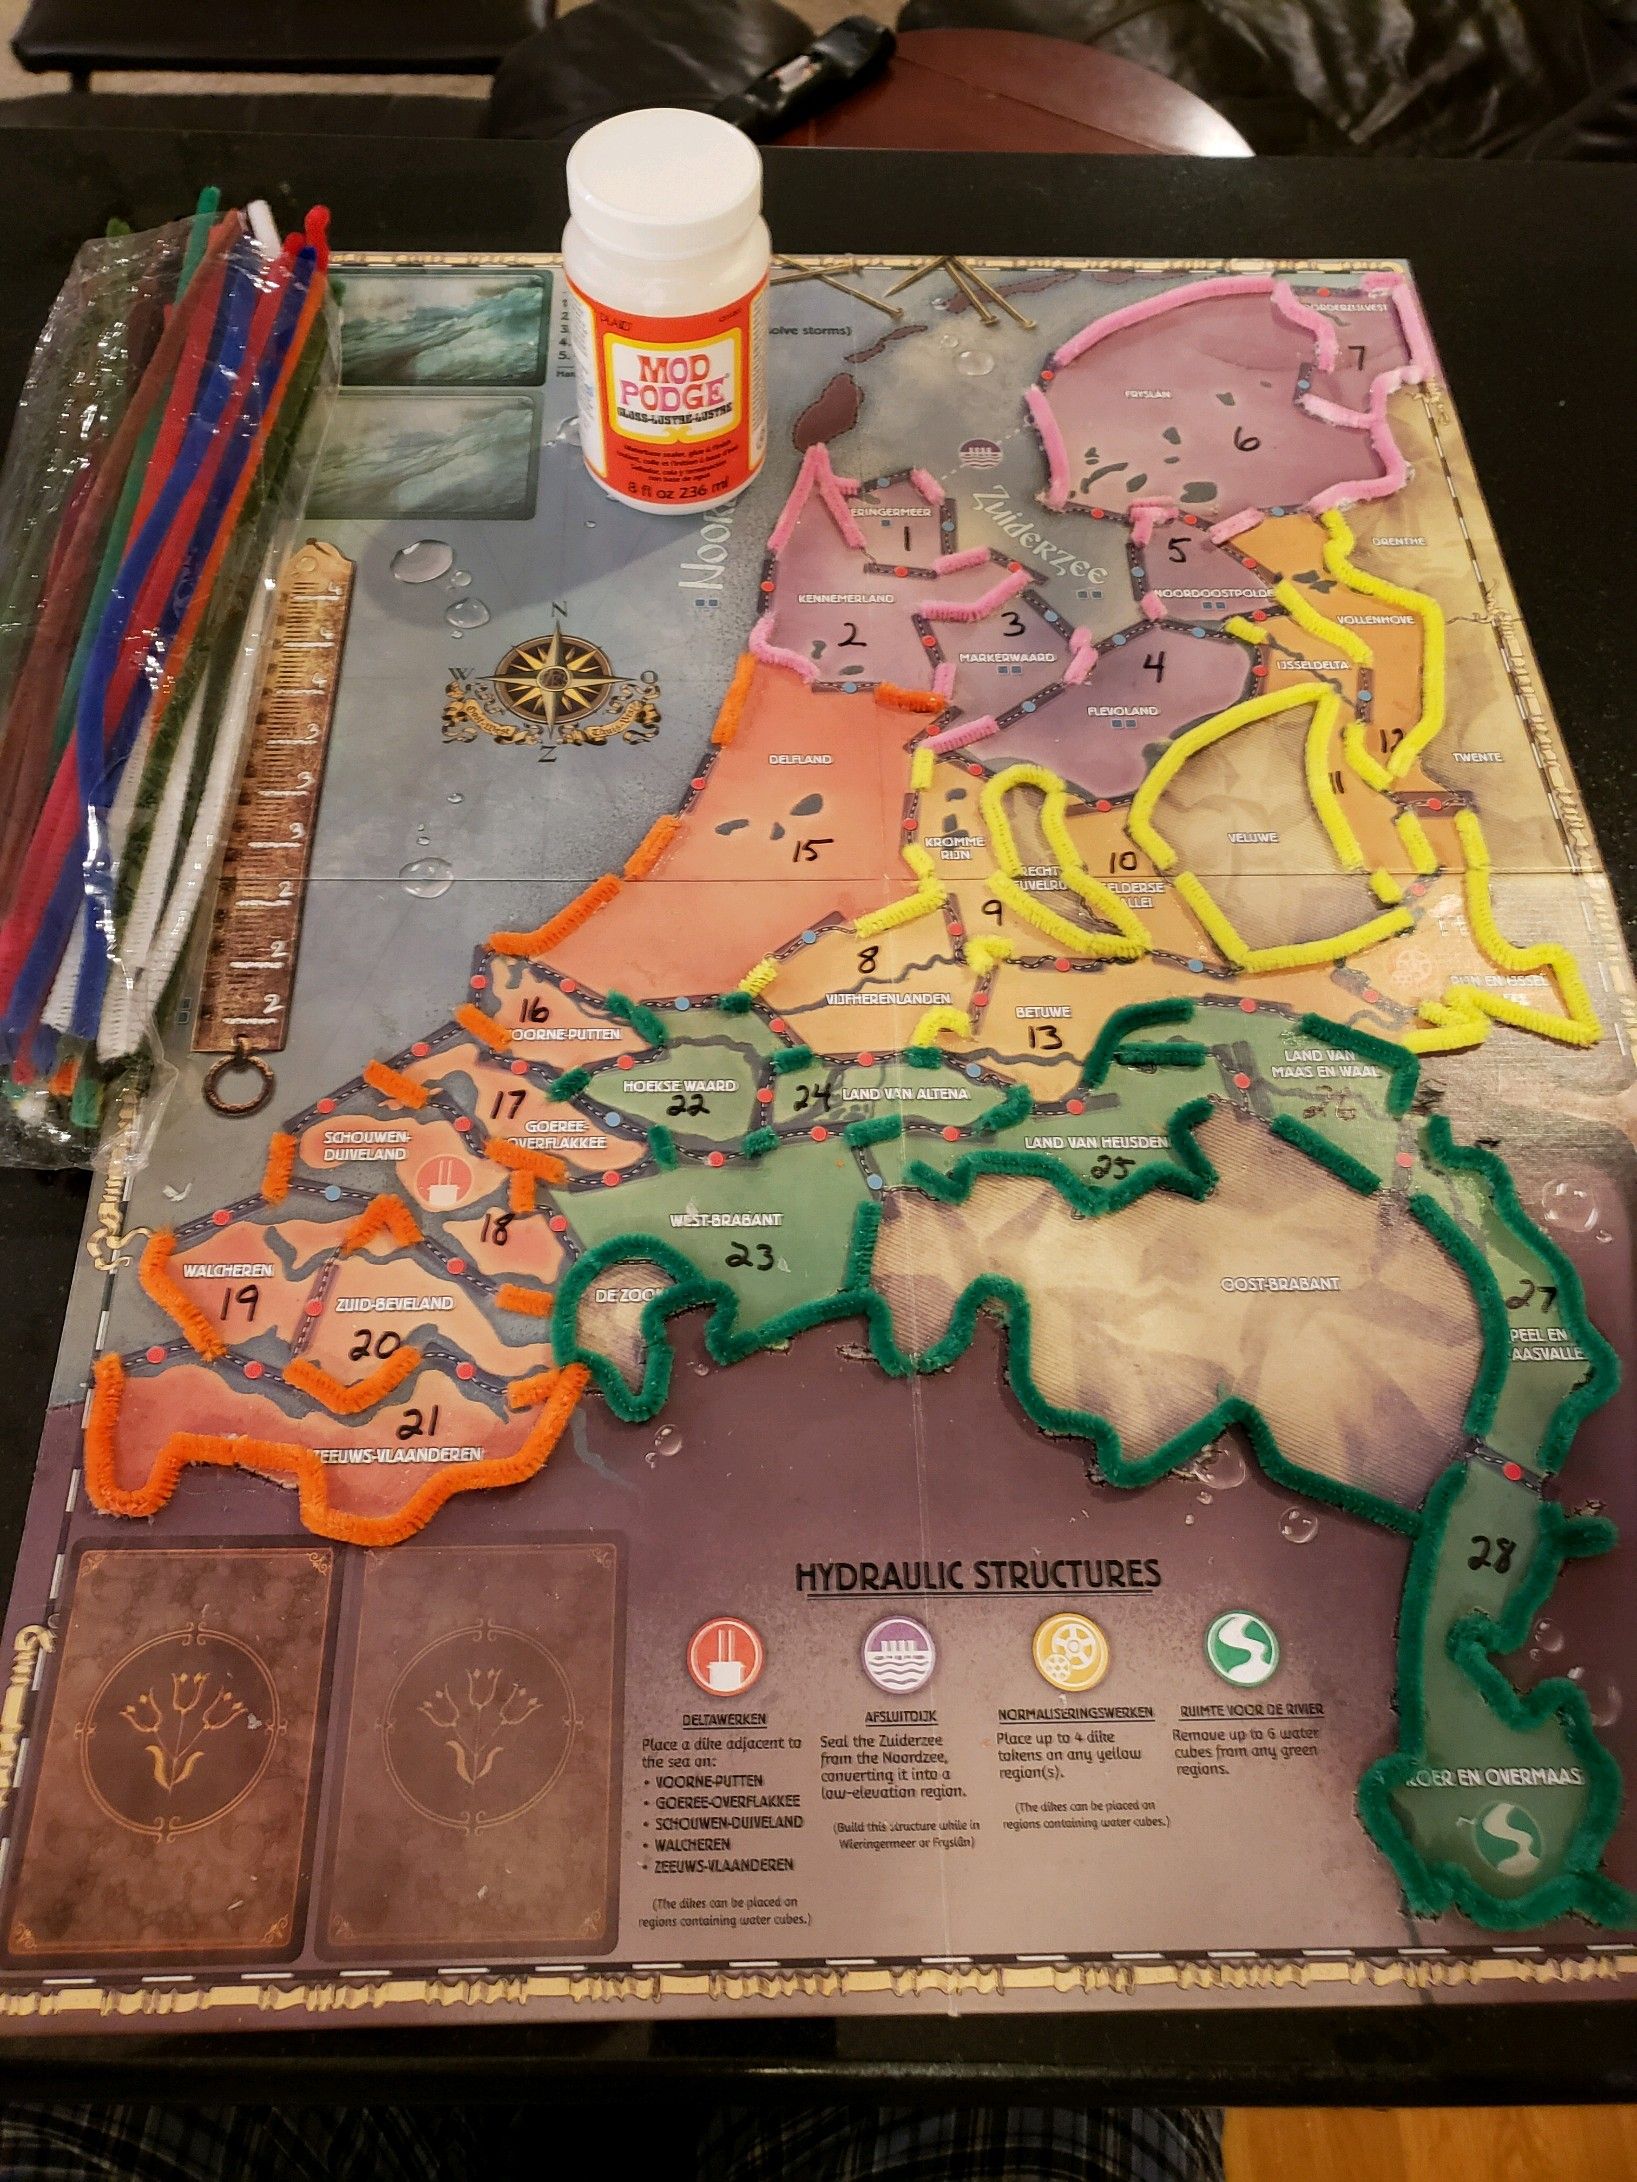
This is hard to do on the original board. This has been at least one forum thread and one player shared their modifications involving pipe cleaners and glue!
Results - software, and PDFs
Much of the work in this project was producing the image to go on the board - in particular, laying out the graph was quite hard and involved shaving a number of yaks. (I'll be posting properly about my planar graph layout tool too.)In case you like my layout, I have published a complete set of PDFs suitable for printing out yourself. There's a variety depending on what printer you are going to use. See the README.txt in that directory for details.
Of course the source code is available too. (Building it is not so easy - see the same README for details.)
Results - physical board
I consulted withThe whole board is backed with bookcloth (the cloth which is used for the spines of hardback books), and that backing forms one of the two hinges. The other hinge is a separate piece of bookcloth on the top face. Then on top of that is the actual board image sheet, all put on in one go (so it all aligns correctly) and then cut along the "convex" hinge after the glue was dry.
I did some experiments to get the hang of the techniques and materials, and to try out a couple of approaches. Then I wrote myself a set of detailed instruction notes, recalculated the exact sizes, and did a complete practice run at 1/sqrt(8) scale. That served me well.
The actual construction took most of a Saturday afternoon and evening, and then the completed board had to be pressed for about 48h while it dried, to stop it warping.
There was one part that it wasn't really practical to practice: actually pasting a 624 x 205mm sheet of 120gsm paper, covered in a mixture of PVA and paste, onto a slightly larger arrangement of boards, is really quite tricky to do perfectly - even if you have a bookbinder on hand to help with another pair of hands. So if you look closely at my finished article you can see some blemishes. But, overall, I am pleased.
Pictures
If you just want to admire my board design, you can look at this conveniently sized PDF. I also took some photographs. But, for here, a taster:


(no subject)
Date: 2019-03-21 06:59 am (UTC)Interesting detail about the pressing to prevent the warping. Obvious with hindsight I suppose but rather better to realize in advance (I'd not have).
(no subject)
Date: 2019-03-21 09:27 am (UTC)(no subject)
Date: 2019-03-21 10:35 am (UTC)(no subject)
Date: 2019-03-21 10:57 am (UTC)In the unfolded board at full resolution you can see a line where the hinge runs; that's basically a small amount of the inside of the paper image sheet and/or the underlying board or bookcloth showing, I think due to a little bit of displacement by the scalpel. For reference the thicker black lines between faces (where there is no grey rectangle for a dyke) are 5 PostScript points, ie 1.76mm, wide.
By the top hinge I think you mean the one hinged at the back. I stuck the board image onto the front with the hinges unfolded - ie, with everything flat. Then of course the hinge can't move any more, which is corrected with a single cut with a scalpel along the line of the hinge, dividing the two sections of the board image along the hinge line. When the board is unfolded these two sections line up exactly along the cut line.